
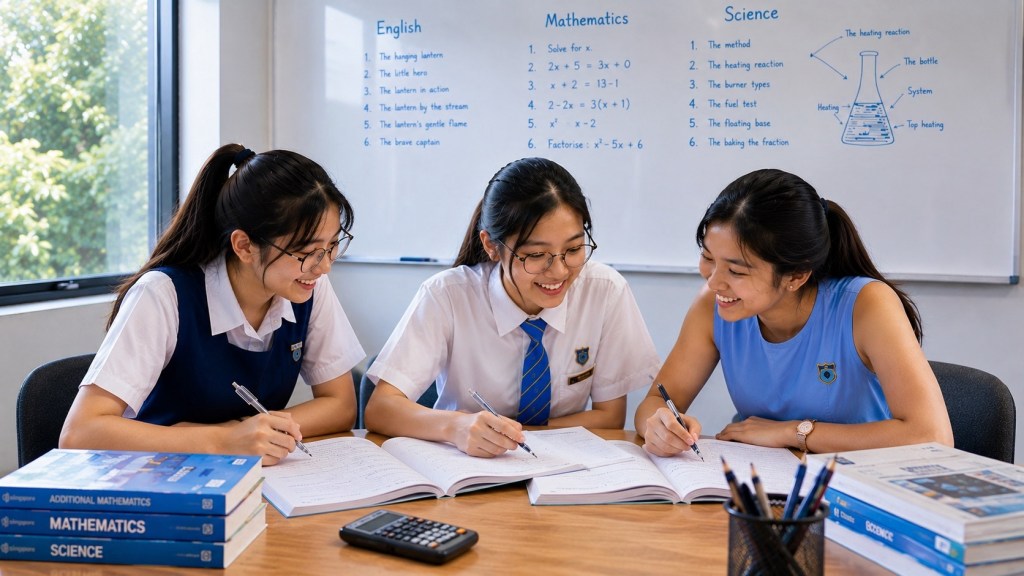
Science experiments at home can be useful when they teach a child how to ask a question, compare conditions, measure carefully, record evidence and explain a conclusion. They are much less useful when they become a spectacular demonstration that the child watches while an adult does all the thinking. A home experiment should therefore be designed around scientific decisions, not entertainment alone.
This Advanced Science Tutorials guide is a safe parent framework for Primary readiness, Primary 3–6, PSLE and Secondary G1, G2 and G3 learners. It targets high-interest searches such as science experiments for kids, science experiments at home, fair test, variables, scientific method and easy science experiments, but the goal is deeper: help students understand questions, variables, measurements, evidence and conclusions.
For Sengkang and Punggol families, home Science does not need special equipment. Paper, water, cups, rulers, torches, spoons, ice, absorbent materials and everyday objects are enough for many low-risk investigations. This article avoids flames, mains electricity, hazardous chemicals, ingestion experiments and other unnecessary risks. The existing Primary 4 Safe Mini-Investigations at Home remains the level-specific owner; this article is the cross-level parent route.
The home experiment rule: question first, apparatus second
Start by asking what you want to find out. “Which paper towel absorbs more water?” is better than “Let’s pour water on things.” “How does distance from a torch affect shadow size?” is better than “Let’s play with shadows.” The question determines the comparison, measurement and evidence.
Once the question is clear, decide whether it can be tested safely with ordinary household materials. If not, do not improvise a hazardous version. Use a school demonstration, simulation, teacher resource or trusted educational video instead.
A safe eight-step home investigation
- Ask one testable question.
- Make a prediction and explain why.
- Identify what will be changed.
- Identify what will be measured or observed.
- Keep other important conditions sufficiently similar.
- Carry out the test and record results.
- Compare the results with the prediction.
- State what the evidence supports and what remains uncertain.
Scientific method without pretending there is one rigid recipe
International resources often teach a scientific-method sequence because it is useful for beginners. Science Buddies, for example, describes asking a question, researching, constructing a hypothesis, testing it, analysing data and communicating results. See Science Buddies: Steps of the Scientific Method.
Real scientific work can be more iterative, but the sequence is still a good home-learning scaffold because it makes the learner’s decisions visible.
Variables: start from the comparison
Do not begin by memorising independent, dependent and controlled variable as three isolated labels. Ask: what are we deliberately changing, what result are we measuring, and what other conditions could unfairly affect the comparison?
For younger students, plain language is enough. Older Primary and Secondary learners can attach the formal terminology once the logic is clear.
What makes a fair test
A fair test is designed so the comparison can reasonably be attributed to the factor being tested. This does not mean every imaginable condition must be identical. It means important competing influences should be controlled or accounted for.
Science Buddies’ variables guide is a useful international reference for beginner experimental design.
Repeat measurements for a reason
Repeats can reveal variability and reduce the chance that one unusual result controls the conclusion. Do not repeat mechanically. Ask what repeat measurements would tell you and how the results will be compared.
If repeated values differ, that is evidence to discuss rather than a reason to hide the inconvenient result.
Measure what matters
Choose a measurement that answers the question. If comparing absorption, decide whether the outcome is amount absorbed, time taken, remaining water or another defined measure. If comparing shadow size, decide how shadow length or area will be recorded.
A vague outcome such as “worked better” should be replaced with an observable or measurable criterion.
Record results before explaining them
Keep observations and explanations separate. First write what happened. Then discuss why it may have happened. This prevents the expected theory from rewriting the actual result.
A simple table is often enough: condition, measurement, repeat values and notes.
A conclusion must match the evidence
A home test usually supports a narrow conclusion about the conditions tested. Avoid claiming that one result proves a universal rule. Use language such as “under these conditions” when appropriate.
This is an excellent habit for PSLE and Secondary Science because it trains students to keep claims proportional to evidence.
Safe home investigation 1: paper absorbency
Question: which selected paper material absorbs more water under the same simple test? Use small equal-sized pieces, a controlled amount of water and a consistent procedure. Decide how absorption will be judged before starting. The learning is not the brand result; it is the design of a fair comparison.
Students can identify changed, measured and controlled conditions, create a table and discuss sources of variation. Younger learners can simply compare and describe; older learners can improve the measurement method.
Safe home investigation 2: shadow size and distance
Use a small torch and an opaque object in a dim room. Keep the object and screen arrangement controlled while changing one distance at a time. Measure shadow height with a ruler. Do not use lasers or high-intensity light sources.
This investigation trains variables, measurement, diagrams and the relationship among light source, object and screen. Students should predict before measuring and explain the trend afterward.
Safe home investigation 3: dissolving and stirring
Use water and a small amount of ordinary table salt or sugar. Compare one clearly defined factor such as stirring versus not stirring while keeping the amount of solute, water volume and container type similar. Do not taste experimental mixtures.
The important lesson is to define what “dissolves faster” means, measure time consistently and avoid changing several conditions at once.
Safe home investigation 4: ice melting under different coverings
Place equal-sized ice pieces in similar containers and compare one safe condition, such as different coverings or locations away from heat sources. Record time or remaining size at fixed intervals. Wipe spills promptly to prevent slipping.
Students can discuss heat transfer, measurement limitations and why perfectly equal ice pieces are difficult to create at home.
Safe home investigation 5: rolling objects on ramps
Use a toy car or ball and a stable low ramp. Change one factor, such as ramp height within a safe range, and measure travel distance on a clear floor. Keep people, pets and breakable objects away from the path.
This is useful for prediction, repeated trials, measurement and graphing. Older students can discuss why uncontrolled surface differences affect the result.
Safe home investigation 6: material transparency
Use a torch and safe household materials to classify how much light passes through: transparent, translucent or opaque where appropriate to the learner’s curriculum. Avoid staring into bright light sources.
Students can compare categories, define criteria and think about whether the classification depends on thickness or material structure.
Primary 1 and Primary 2: observe and compare
For younger children, keep experiments short and concrete. The goal is careful language: what changed, what stayed the same, what was noticed and how two objects can be compared.
Do not force formal variable vocabulary. Build the reasoning first.
Primary 3: fair-test foundations
Primary 3 learners can start identifying a changed condition, an observed result and conditions that should remain similar. Ask the child to explain why changing two things at once makes the conclusion weaker.
The Primary 3 fair-tests guide is the deeper level-specific route.
Primary 4: evidence and conclusion
Primary 4 students can improve by recording results more systematically and distinguishing observation from inference. Ask what the evidence directly shows before asking why.
The existing Primary 4 safe mini-investigations guide provides more level-specific work.
Primary 5: variables and experimental design
Primary 5 students should become more precise about variables, controlled conditions, repeated measurements and method quality. Use the Primary 5 Variables, Fair Tests and Experimental Design guide for the specialist route.
At home, the most valuable question is often “What could make this comparison unfair?”
Primary 6 and PSLE: write the method another person could follow
A PSLE-level method should be clear enough that another learner could repeat the procedure without guessing important steps. Identify what is measured, when it is measured and how conditions are controlled.
The PSLE method-writing guide is useful for this skill.
Secondary G1, G2 and G3: practical work becomes more disciplined
Lower Secondary Science adds more measurement, apparatus, data handling and evaluation. Home experiments should not try to recreate laboratory hazards. Use safe household investigations to practise question design, data recording and critique, while practical techniques requiring school equipment belong in supervised school settings.
Refer to the official G1 and G2/G3 syllabuses for curriculum context.
Prediction is not a guess
A useful prediction connects an expected result to a reason. “I think A will be greater because…” is stronger than choosing an answer with no model behind it.
After the experiment, compare prediction with evidence without treating a wrong prediction as failure. An unexpected result can be scientifically valuable if the method and observations are examined honestly.
Hypothesis and prediction
Older students should distinguish a proposed explanation from the predicted observation that follows from it. Beginner resources often combine these ideas for simplicity, but Secondary Science benefits from greater precision.
Ask: what explanation are we testing, and what result would we expect if it were reasonable under these conditions?
Control groups and controlled variables are different
Students sometimes confuse a control condition with controlled variables. Controlled variables are conditions kept sufficiently stable; a control group or control condition is a comparison baseline used in some experiments.
Not every home experiment needs a formal control group. Use the concept only when it helps answer the question.
Accuracy, precision and reliability
Older students should avoid using these words interchangeably. Repeated similar measurements can be precise without being accurate. Repetition can help reveal variability, but it does not automatically remove systematic error.
Home investigations are useful places to notice these distinctions because imperfect household measurement makes limitations visible.
Do not hide null or unexpected results
If two conditions appear similar, record that honestly. Do not change the conclusion to match the prediction. Ask whether the measurement was sensitive enough and whether the test conditions were different enough to produce a detectable effect.
This is authentic scientific reasoning and a valuable antidote to the idea that experiments must “work”.
Use graphs after measurement
Once a simple investigation produces repeated or ordered measurements, graph the data if the representation helps. Choose axes based on the changed and measured quantities.
Then read the graph using the protocol from How to Read Science Diagrams, Graphs and Tables Without Guessing.
Parent role: protect safety and thinking
Parents should supervise materials and environment, but avoid doing every decision. Ask the child to state the question, prediction and measurement method. If the plan is unsafe or cannot answer the question, help redesign it.
The adult owns safety. The learner should own as much of the scientific reasoning as age and capability allow.
Tutor role: turn experiments into diagnosis
A tutor can use a simple investigation to hear misconceptions. Ask students to predict individually, compare methods, justify controlled conditions and interpret results. Three students may design three plausible approaches, creating valuable contrast.
The point is not a show. The point is to make thinking observable.
When Science tuition may help
Extra help may be useful when a student repeatedly confuses variables, writes unusable methods, overclaims from results or cannot connect practical work to scientific concepts. Tuition should improve independent experimental reasoning rather than complete the assignment for the child.
For current Primary 3–6 and PSLE programme information, use Primary Science Tuition Sengkang. Secondary G1/G2/G3 material in this tutorial lane is educational transition coverage.
A home experiment checklist
- Is the question clear and testable?
- Is the setup safe with ordinary household materials?
- Is only one main comparison being tested?
- Is the outcome observable or measurable?
- Are important competing conditions controlled?
- Will results be recorded before explanation?
- Can the child state a conclusion proportional to the evidence?
- Can the test be repeated or improved without increasing risk?
Frequently asked questions
What are easy Science experiments to do at home?
Choose low-risk investigations with paper, water, light, shadows, ice, absorbency or rolling objects. The educational value comes from the question and measurement, not from dramatic effects.
Do home experiments need a hypothesis?
Not every beginner activity needs formal hypothesis language. A prediction with a reason is often enough for younger learners. Older students can distinguish hypothesis from prediction more precisely.
What is a fair test?
A fair test is a comparison designed so the observed difference can reasonably be linked to the factor being tested rather than other changing conditions.
How many times should we repeat an experiment?
There is no universal number. Repeat enough to see whether results are reasonably consistent and to discuss variability, while keeping the task proportionate to the question.
What if the result is different from the prediction?
Record it honestly. Check method, measurement and assumptions. An unexpected result is an opportunity to improve the explanation or design.
Can home experiments replace school practical work?
No. Home investigations can build reasoning and observation, but school laboratories provide equipment, supervision and practical experiences that should not be improvised unsafely at home.
Internal routes
- Science Hub
- Complete Science Index
- Primary 4 Safe Mini-Investigations at Home
- How to Read Science Diagrams, Graphs and Tables
- Science Vocabulary
- Primary Science Tuition Sengkang
Final operating rule
A good home experiment is small enough to be safe, clear enough to measure, and open enough to make the learner think. Ask the question. Define the comparison. Predict. Measure. Record. Explain. Admit uncertainty. Improve the method. When a child can do those things with less adult steering, the experiment has taught more than a fact—it has taught how scientific evidence is built.
